Call our 24/7 advice line for health care professionals and families if you need support with symptom management and end of life care - 01284 766133.
Peter’s garden
I moved into my home Thetford in in July 2015 and started work transforming the rear and front gardens from the weed-filled jungle they had become under previous ownership into something altogether more appealing which you might have seen during previous Open Gardens events.
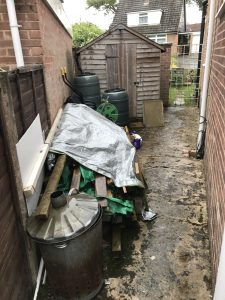
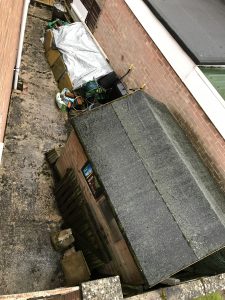
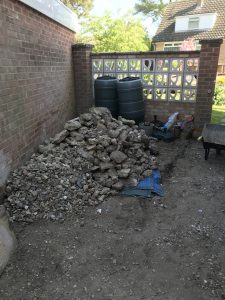
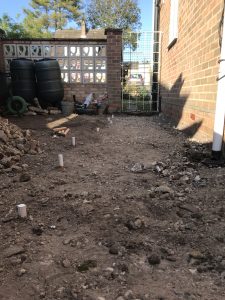
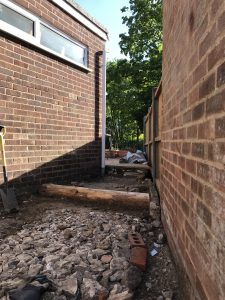
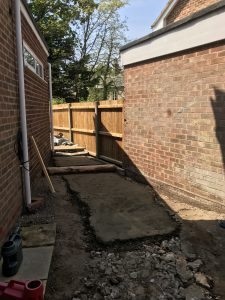
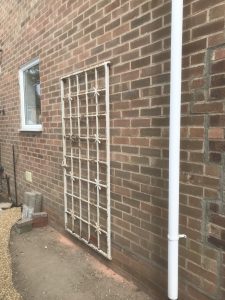
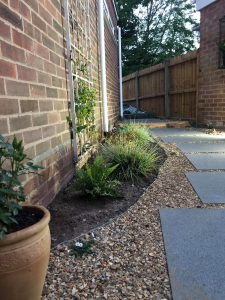
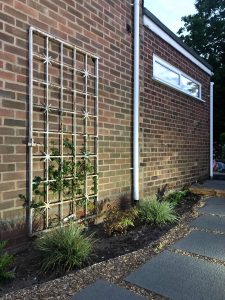
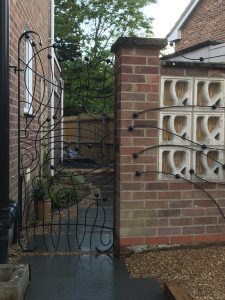
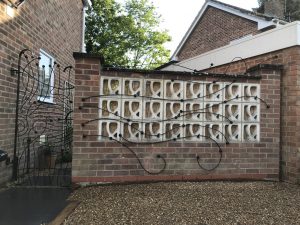
I took advantage of the small side garden adjacent to the house to store rubbish, timber and other ‘garden junk’ as it was ‘out of sight so out of mind’ but I always had longer term plans to make it very much prettier! Pictures 1 and 2 show the state it was in before I set about transforming it once the back and front gardens had been brought up to scratch.
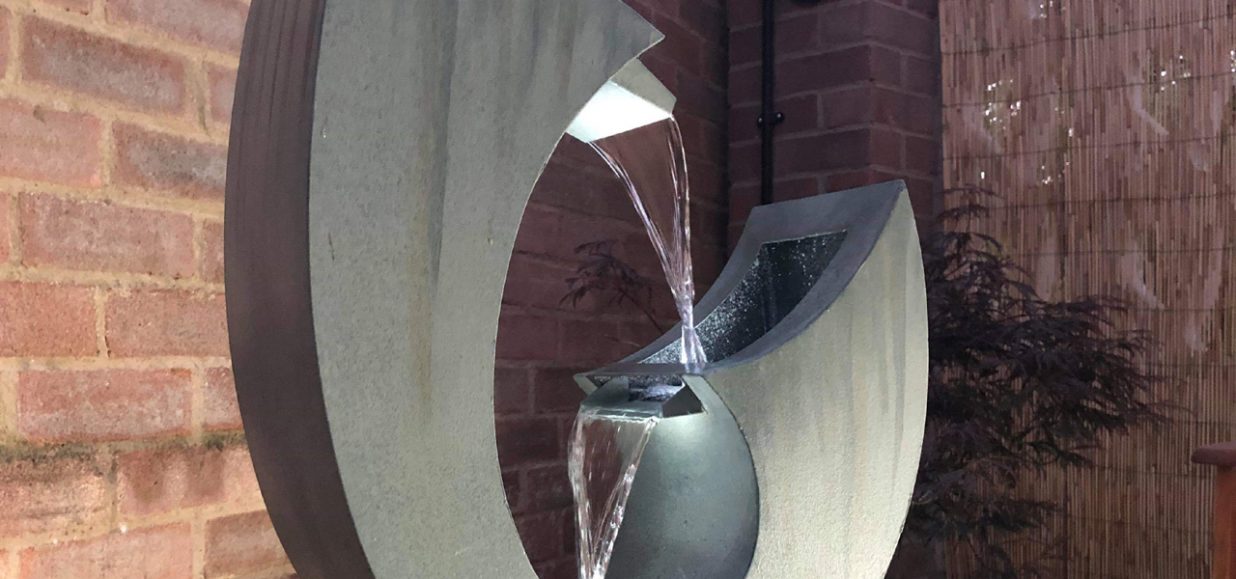
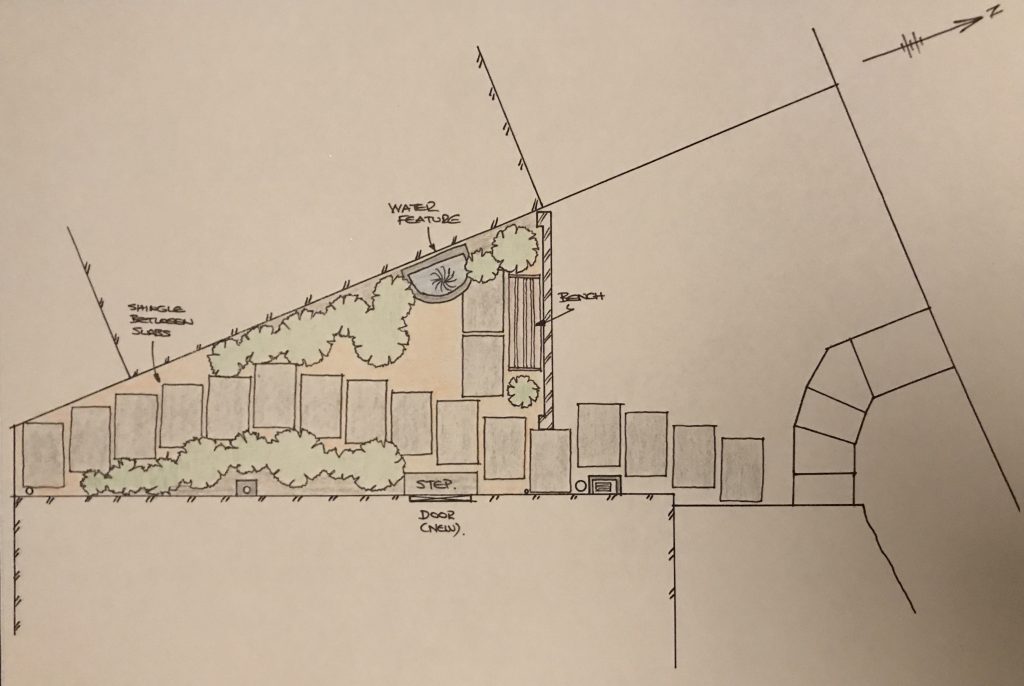
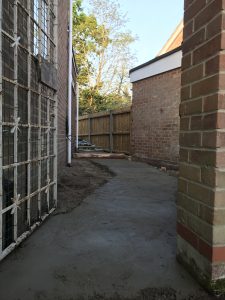
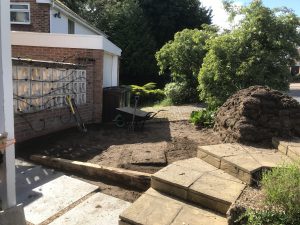
I sketched up a few designs before plumping for the layout shown in picture 3. I wanted to get away from the harsh concrete and ‘squareness’ of the side garden so designed it with a curved granite slabbed pathway with two main beds, a water feature and a garden bench.
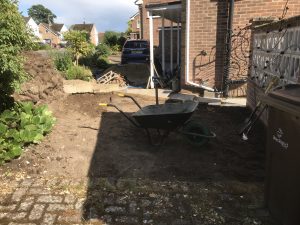
The first job was getting rid of the junk and flimsy old shed that the previous occupants had left behind. A call to The Green Man, licenced waste disposal, made short work of that. I was then left with a blank canvass comprising mainly solid concrete and a few slabs what formed the footing for the old shed.
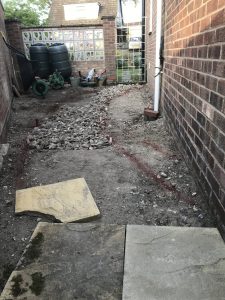
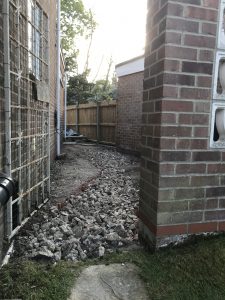
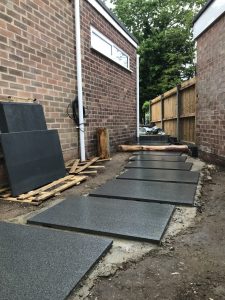
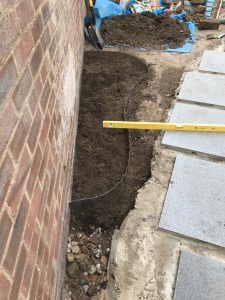
I broke up over two tonnes of concrete with nothing but a sledgehammer and a crowbar with most being taken away for recycling by The Green Man. Picture 4 shows the second load awaiting collection. The remainder I used to form the sub-base for the new footpath. Setting out and laying and levelling was done over a weekend as depicted in pictures 5, 6 and 7.
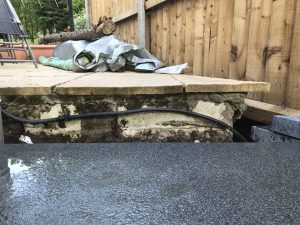
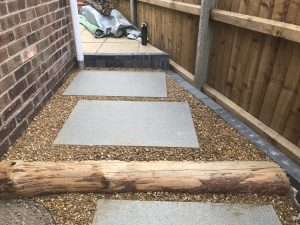
On levelling it became apparent that I’d need a second step along the path as a single step from the rear patio was too deep so, not wanting any harsh edges, I decided to use an old tree trunk which I placed and levelled as in picture 8. I then laid a concrete blinding course on top of the hardcore sub-base hand-mixing, in total over the course of the work over 40 barrow loads of concrete, levelling to enable a 10mm mortar bed to be laid under the slabs as in pictures 9 and 10.
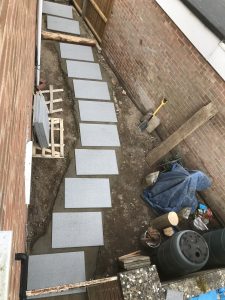
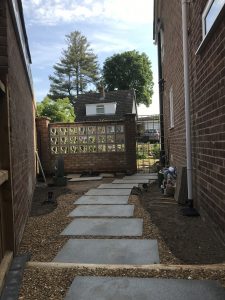
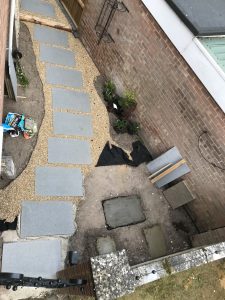
I then carried out a ‘dry run’ of the slabs to calculate spacings and horizontal positioning on the curve which I viewed from my bathroom window above as picture 11. The next step was to bed the slabs into place which was quite an effort as they are 900mm x 600mm and I did all the work alone. Picture 12 shows the recently bedded slabs washed down to remove any possible mortar stains.
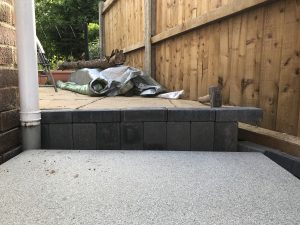
The old step up to the rear patio was quite ugly so I bedded some grey block paviours to create a new face and tie the buff slabs into the new grey granite ones as shown in pictures 13 and 14.
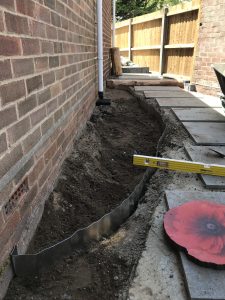
The next step was to create the two beds which I did with galvanised steel edging, levelled to the top of the slabs as shown in pictures 15 and 16. Subsequently I laid weed matting down and filled in between the slabs and beds with 10mm gravel as shown in pictures 17 and 18.
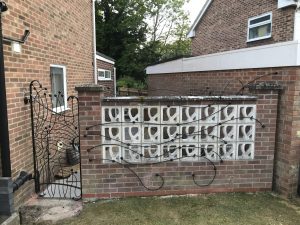
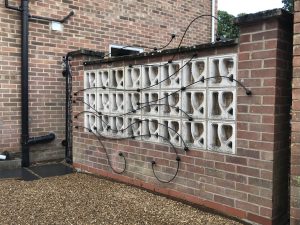
I had always admired the work of a local metal craftsman by the name of Kev Colbear and it was he that provided the next enhancement, designing a new gate and some ‘wall art’ that flowed along the front wall from the gate and into the side garden as shown in picture 19. My partner, Liz, then suggested recycling the old gate to form a trellis for a honeysuckle so I fixed it to the house wall with resin anchors as shown in picture 20.
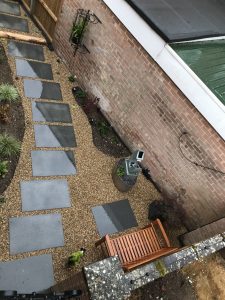
My next task was to set out the slabs for the garden bench which is shown from above in picture 21 with a view from the rear patio in picture 22. With all the main elements in place I was then able to plant up the beds and finish gravelling up to the gate. I had at the start of the works installed conduit and cable in readiness for the water feature and garden spotlights and these were then wired in.

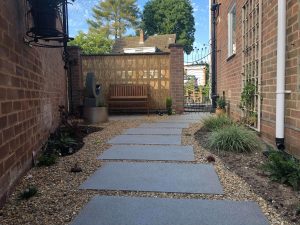
The end result, with a roll of reed screening to hide the ugly wall, can be seen in pictures 23-27.

Following this my only remaining task was to install the steps to the front garden and to remove the old patch of ‘grass’ from in front of the wall and to replace with gravel as shown in pictures 28-33.

I still have some tidying up left to do out front, including getting rid of the old turf I lifted and to create a new front bed but the project is just about complete and I now hope to be able to relax and enjoy the fruits of my labours….
In the absence of Open Gardens 2020 I hope to be able to open as a Pop-Up as soon as lockdown measures permit and I hope to see many of you then in aid of St Nicholas Hospice.